
First run and setup wizard
Install the plugin package through Plugins → Add New → Upload Plugin, or copy the plugin folder into wp-content/plugins/. Activate it and open the Botshido menu. Required database tables are created on activation.
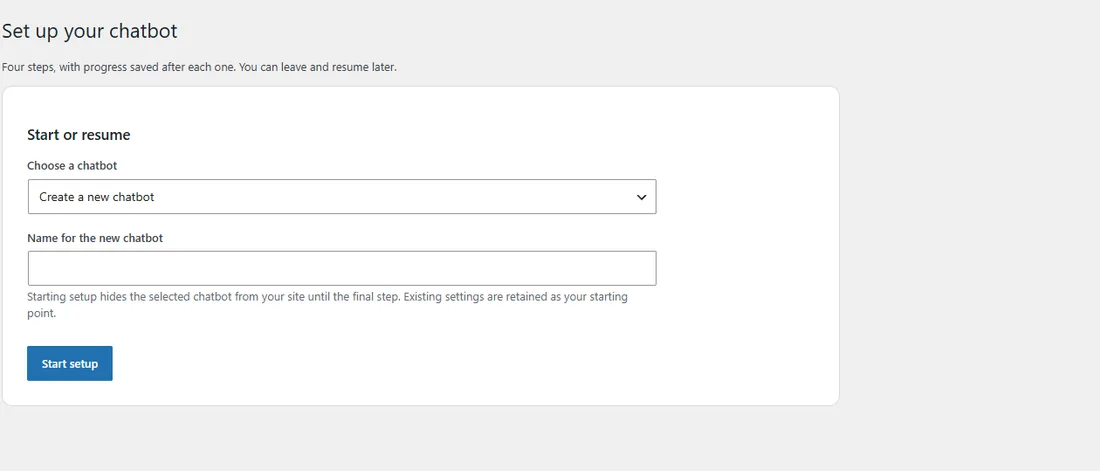
Open the Setup Wizard. You can create a chatbot or choose an existing one. Starting the wizard for an existing chatbot hides it from the public site until the final step; its saved settings are used as your starting point.
| Step | What to do |
|---|---|
| AI connection | Choose OpenAI, Mistral, Anthropic or Grok / xAI. Enter a key or reuse keys from another chatbot. The model field is optional: leave it empty to use the saved model for that provider or its default. |
| Role and greeting | Test the saved model, set the name, and customize the suggested prompt and first greeting. |
| Knowledge | Paste text, import a public URL, select pages/posts, or configure knowledge later. |
| Test and publish | Wait for indexing to finish, open the test chat, then choose to stay hidden, appear on the homepage only, or appear on all website pages. |
Each Save and continue saves your progress. You can leave and resume through the wizard. Its WordPress content selector shows up to 200 pages/posts; use the Knowledge Base for larger selections.
The model test and test chat make real provider requests. API charges may apply even while the chatbot is hidden.